WordPress Requirements
Below are given some requirements and features which wordpress supports. Have a look at it.
| Features | Description |
|---|---|
| Database | MySQL 5.0 + |
| Web Server |
|
| PHP Compatibility | PHP 5.2+ |
| Operating System | Cross-platform |
| Browser Support | IE (Internet Explorer 8+), Edge, Firefox, Google chrome, Safari, Opera |
Given below is the step by step installation process of wordpress. From downloading to how to launch it, you will get all the information in this tutorial.
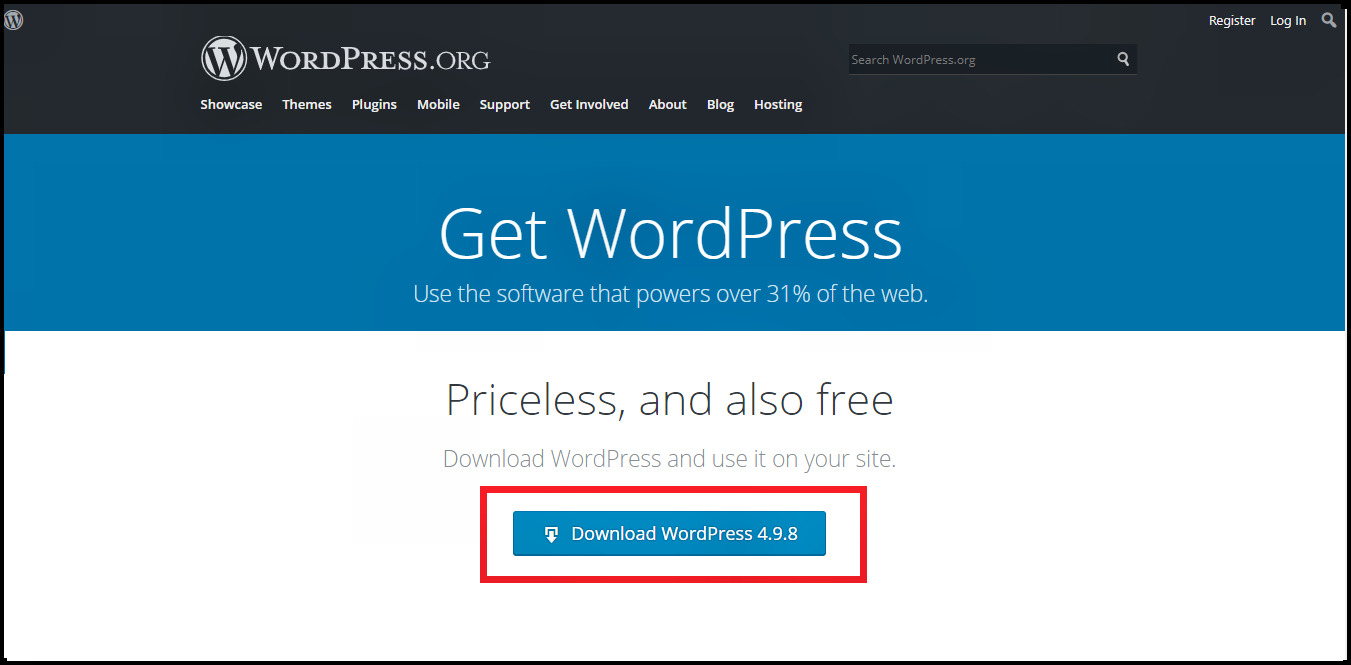
Download WordPress
To download wordpress in your system so that you would be able to use it offline -
Open the link "https://wordpress.org/download". You will see a screen like the following snapshot −
After downloading the package in your system, the first thing you have to do is to LEAVE IT for now. Now, open the database of XAMP server or whatever server you are using. You have to create a database for wordpress before installing it.
Create Store Database
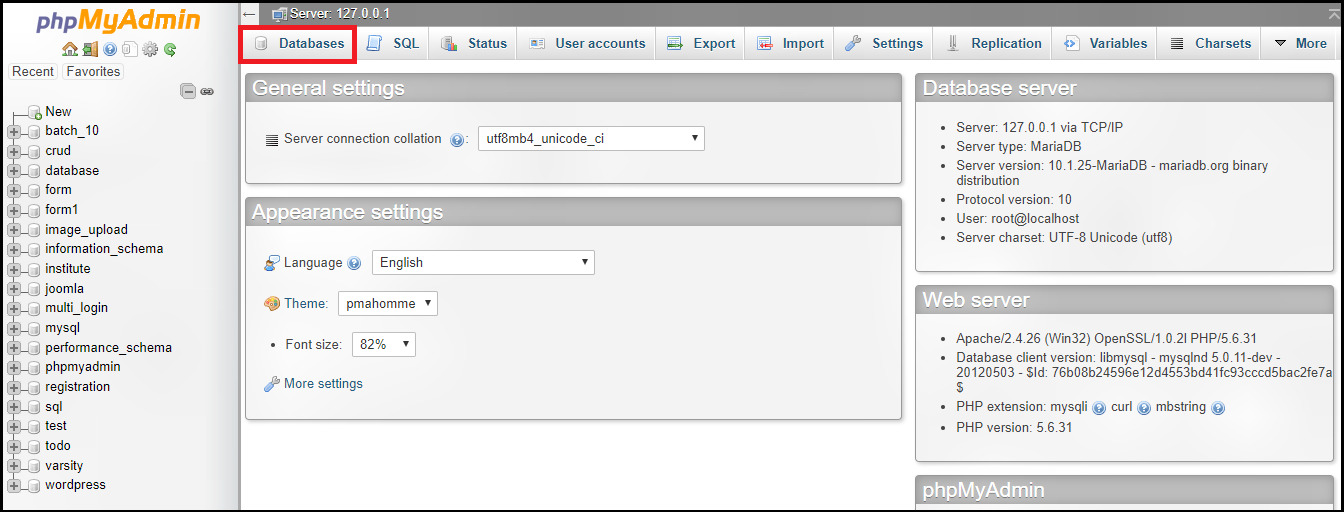
We are using XAMP server in this tutorial. If you have any other server installed you should know how to use its database.
Step 1 : At the top you can see option Databases, Click on it.
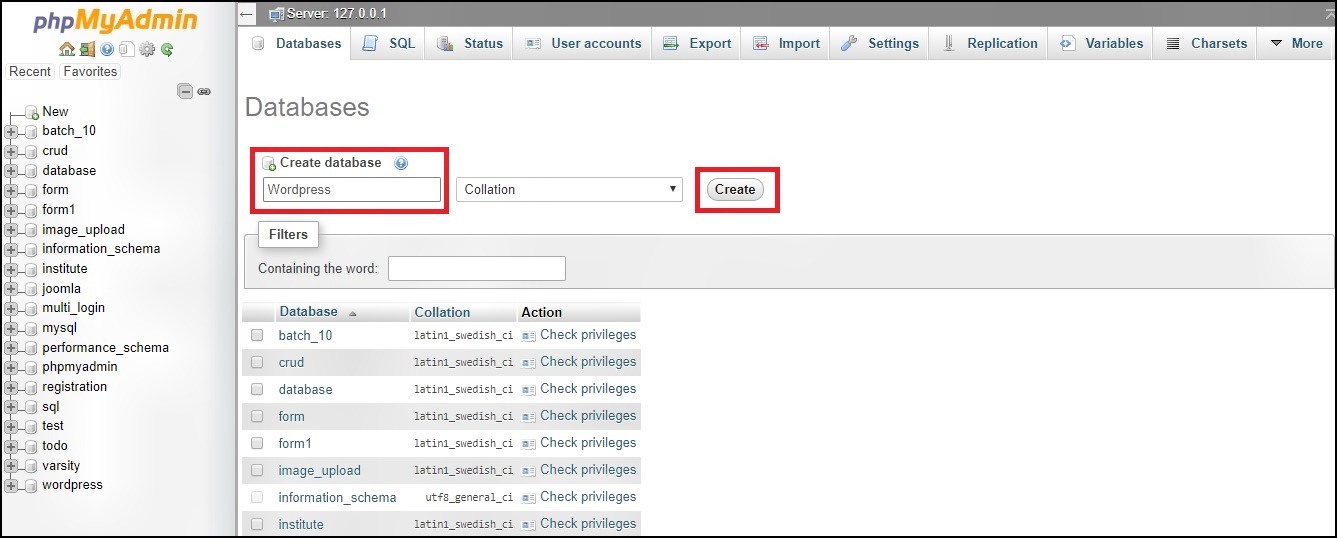
Step 2 :
In the create databases segment, enter the name of the database.
You can give any name you want. We have given name 'wordpress' just for convenience. Then, Click on 'create'
button.
Your database is created. It was very simple right.
Set Up Wizard
It is very easy to set up WordPress into your system. The following steps describe how to set up WordPress locally in the system.
Remember the previously downloaded wordpress package, we will use that now.
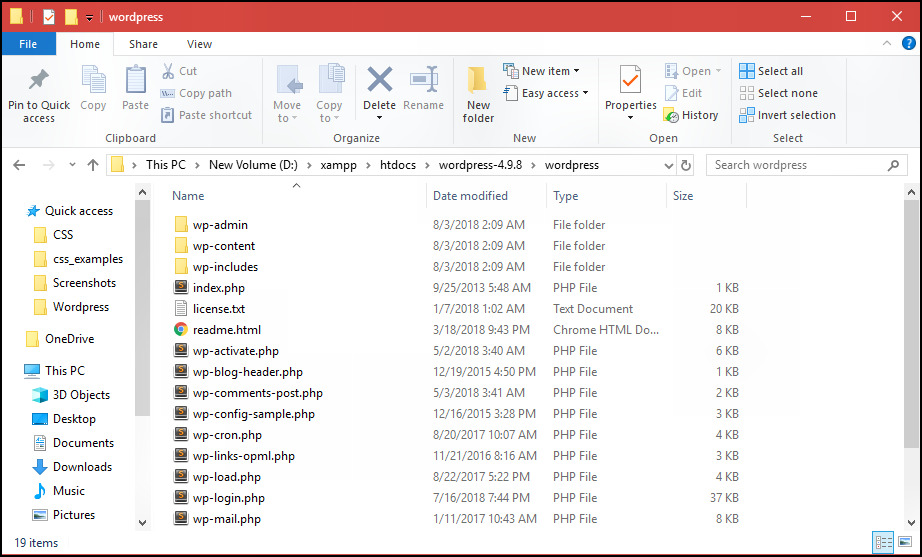
Step 1 :
Extract the downloaded WordPress folder and upload it into your web server
or localhost. In XAMP extract it in the 'htdocs' folder of the XAMP server. As you can see in the
picture, the data is extracted in a folder named 'wordpress' inside 'htdocs'.
Step 2 :
Open your browser and navigate to your WordPress file path. In our case, the path is (http://localhost/wordpress)
i.e. http://localhost/Your_wordpress_folder_name. After that you will see the first screen of the installation.
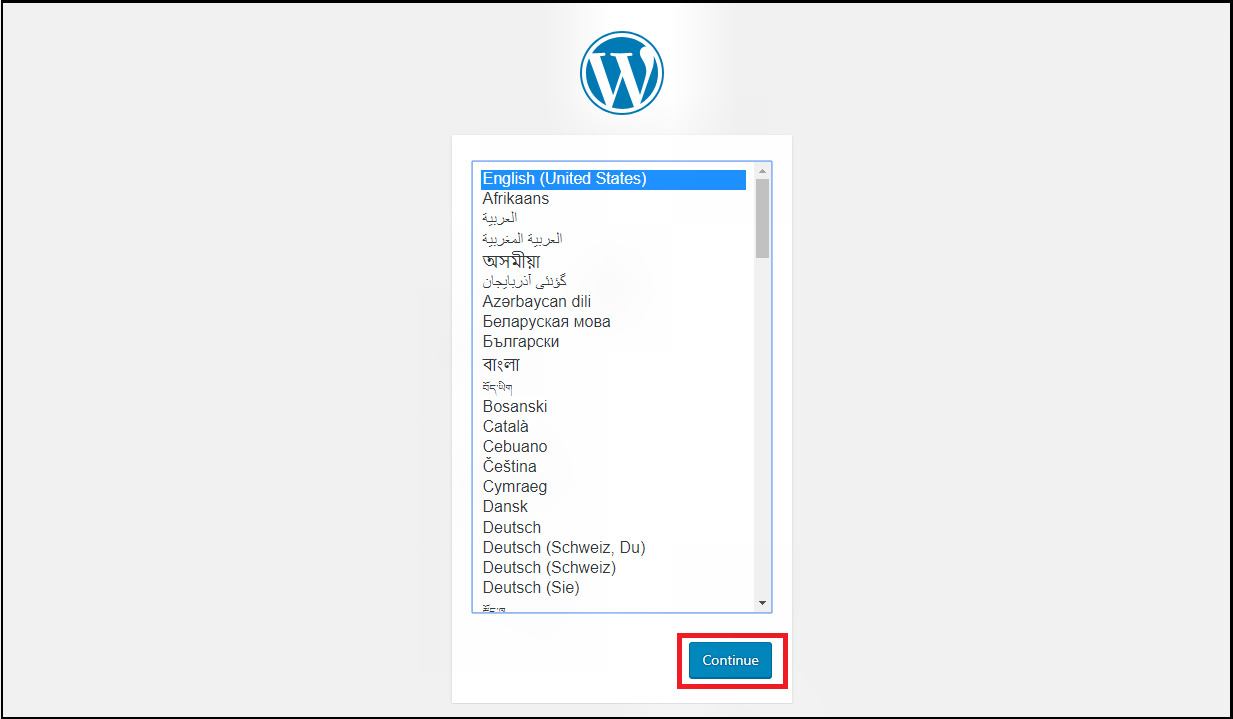
Step 3 :
Select your preferred language to use the WordPress and click on Continue.
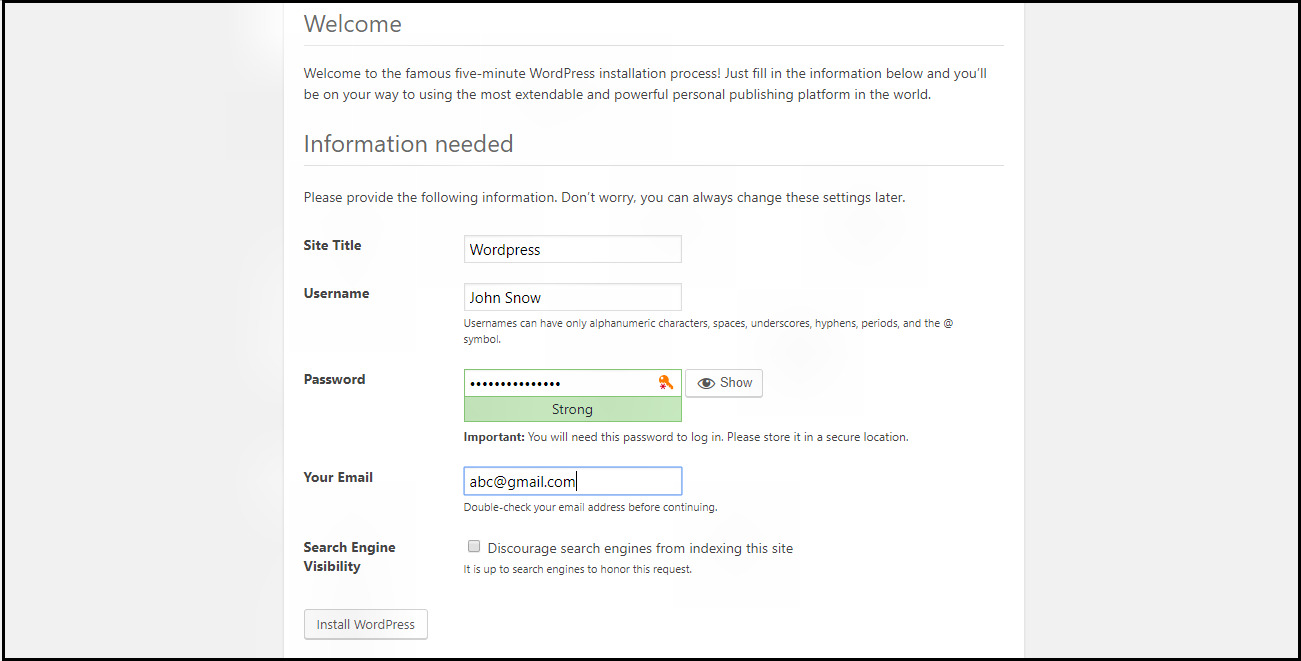
Step 4 :
Enter the name of your site, username and password to log in to wordpress, and your e-mail which
you want to associate with wordpress. Leave the last option unchecked for now.
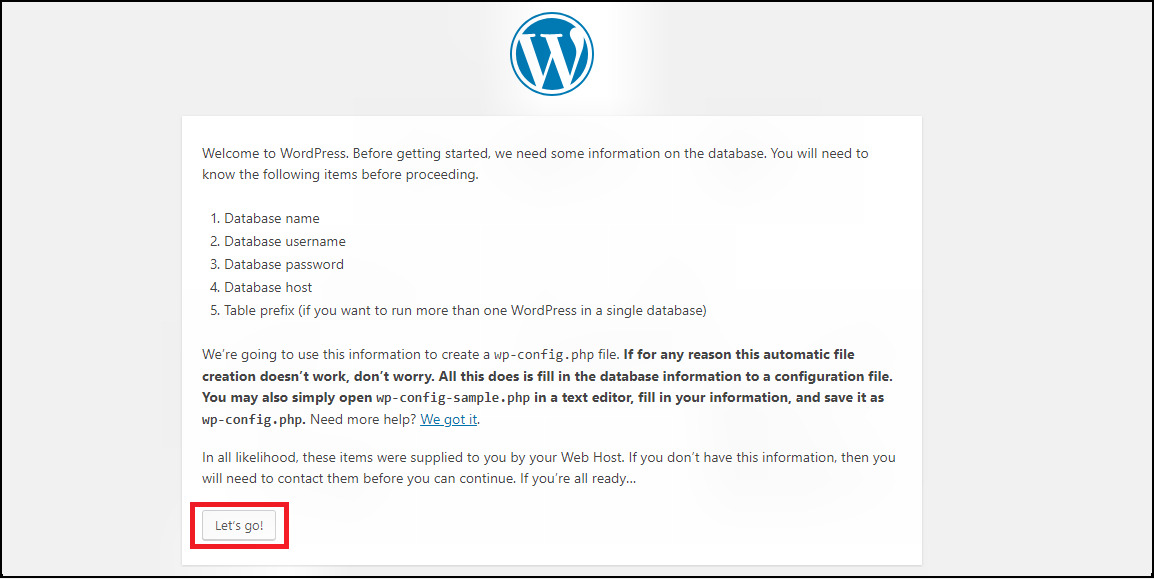
Step 5 :
Here you can see all the database information you will need to continue installation. Gather all this information like name (In our case- wordpress), username, password, etc.
Click on Let's go!
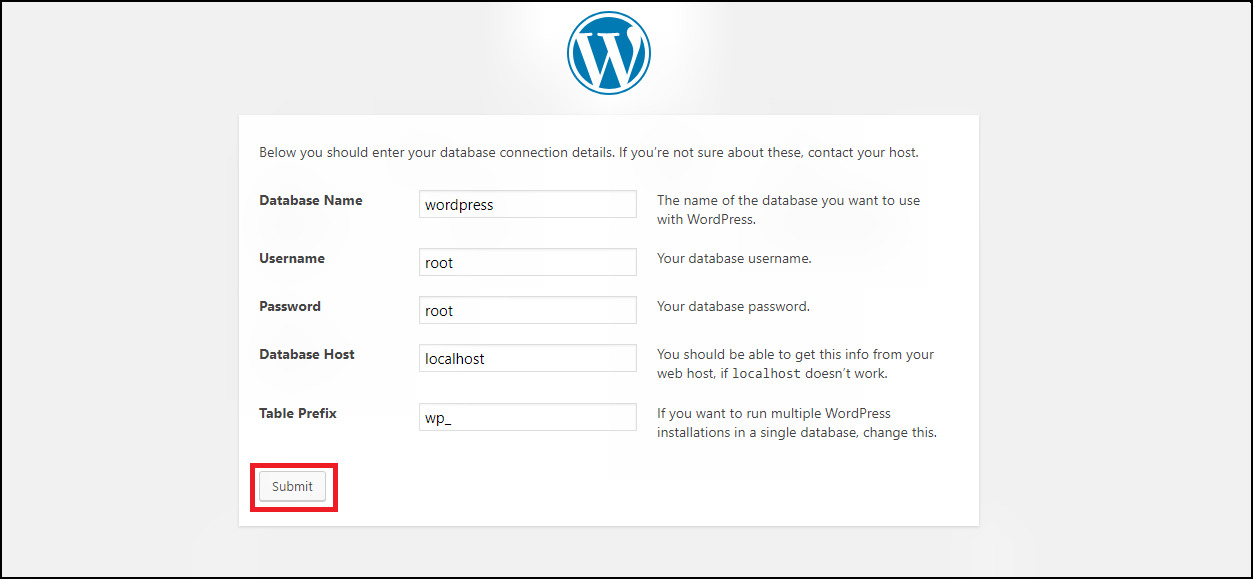
Step 6 : Now enter the name, username and password of phpmyadmin database, host (localhost in this case), and prefix of your choice. Click on Submit. The description of the fields is given below:
| Fields | Description |
|---|---|
| Database Name | Enter the database name which you have created in MySQL database for WordPress. |
| Username | Enter the username of MySQL database. |
| Password | Enter the password which you had set for MySQL database. |
| Database Host | Enter host name, by default it will be 'localhost'. |
| Table Prefix | It is used when you want to add multiple databases of multiple websites in wordpress. It adds the specified prefix in the database tables which helps to run multiple sites on the same database. It takes the default value. |
Step 7 : If you have filled all the right information, then you will reach this page. All is set to run the installation. Click on the 'Run the installation' button to run it and wait for it to get completed.

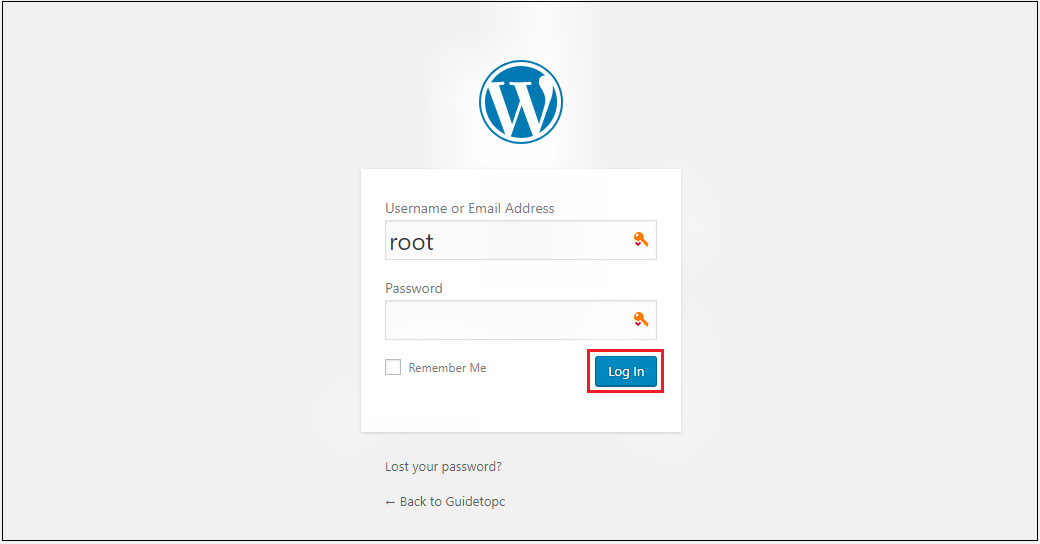
Step 8 : Enter the username and password which you had specified during installation in Step 4 and click on the Log In button.
Now the wordpress is successfully installed. In the next tutorial we will get inside the wordpress and will know various features of its dashboard.